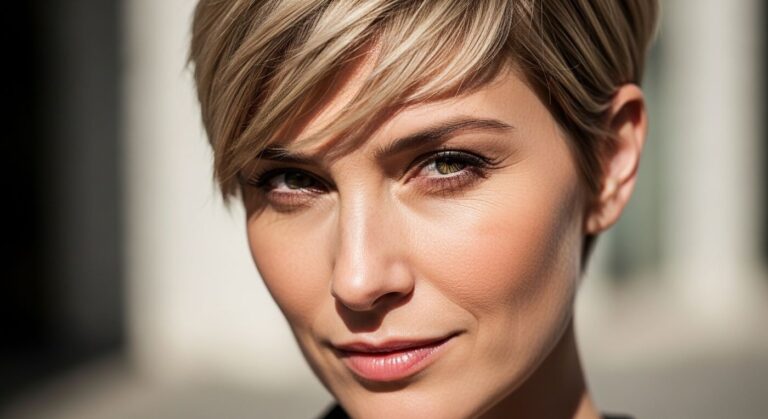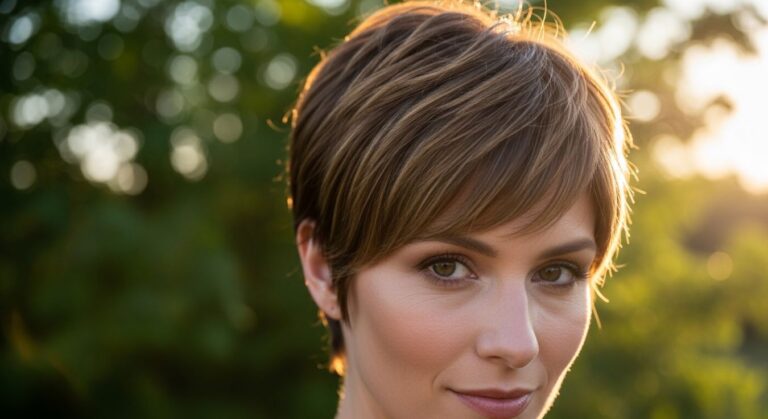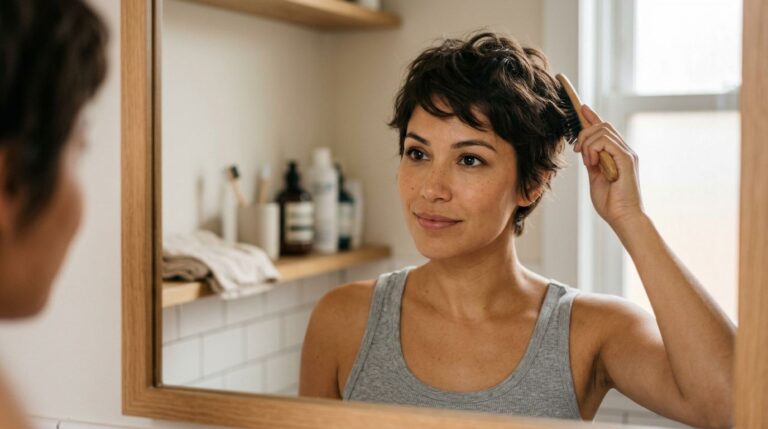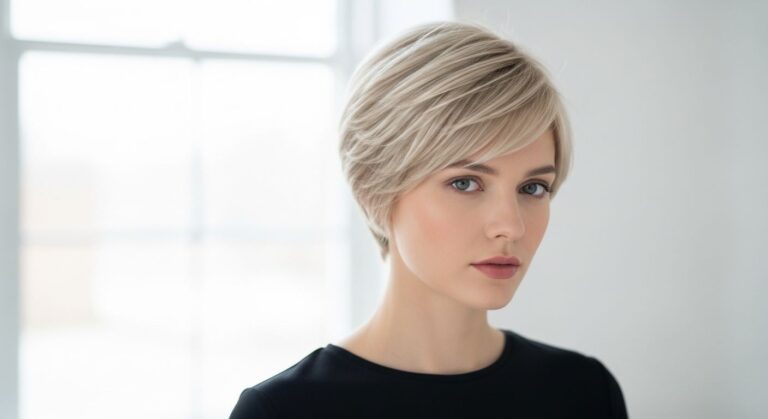
35 Hair Styles for Medium Hair That Are Trending Everywhere Right Now
Medium hair sits in the sweetest spot long enough to pull off dramatic styles, short enough to dry fast and stay manageable. Right now, salons and social feeds are full of ideas made specifically for this length. Whether your hair is straight, wavy, or curly, there are looks that work without expensive appointments or complicated tools. This article walks through 19 styles that real people are wearing right now all of them doable at home, most of them under $20 in product cost. Find one that fits your life and run with it.
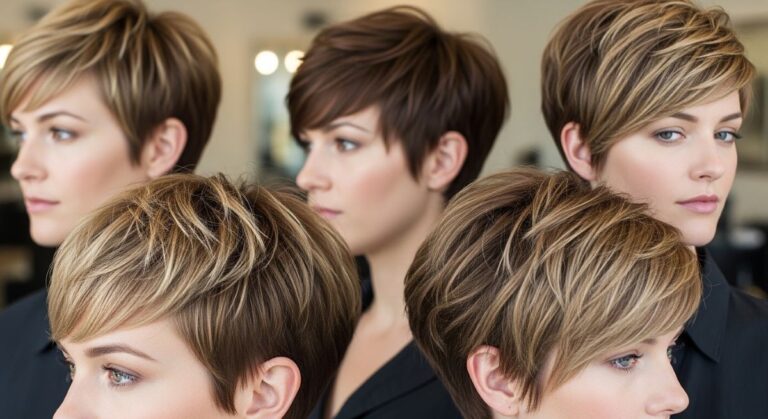
Who says short hair can’t steal the show? Explore our favorite Hair Styles for Short Hair that are chic, trendy & effortlessly stunning!
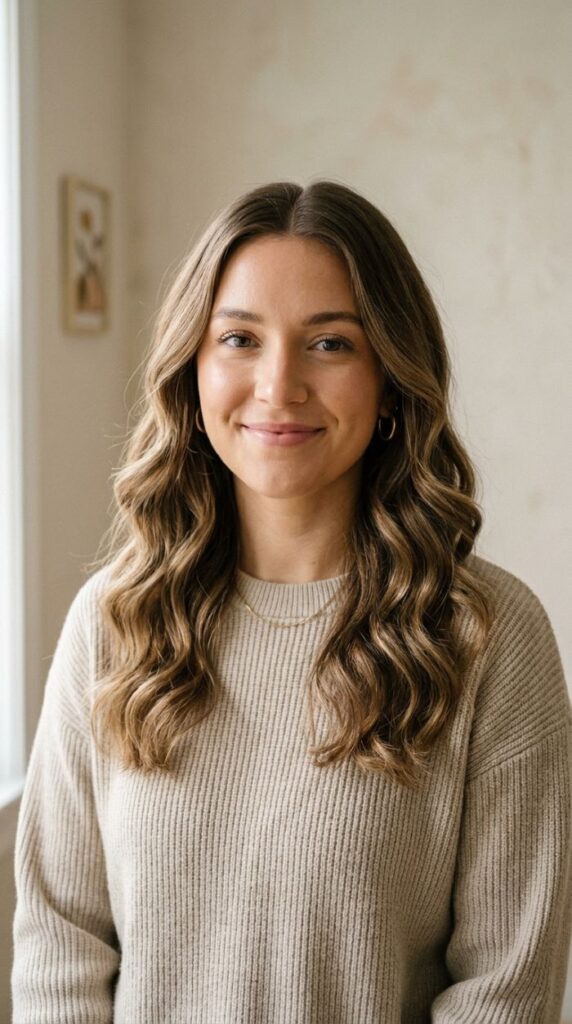
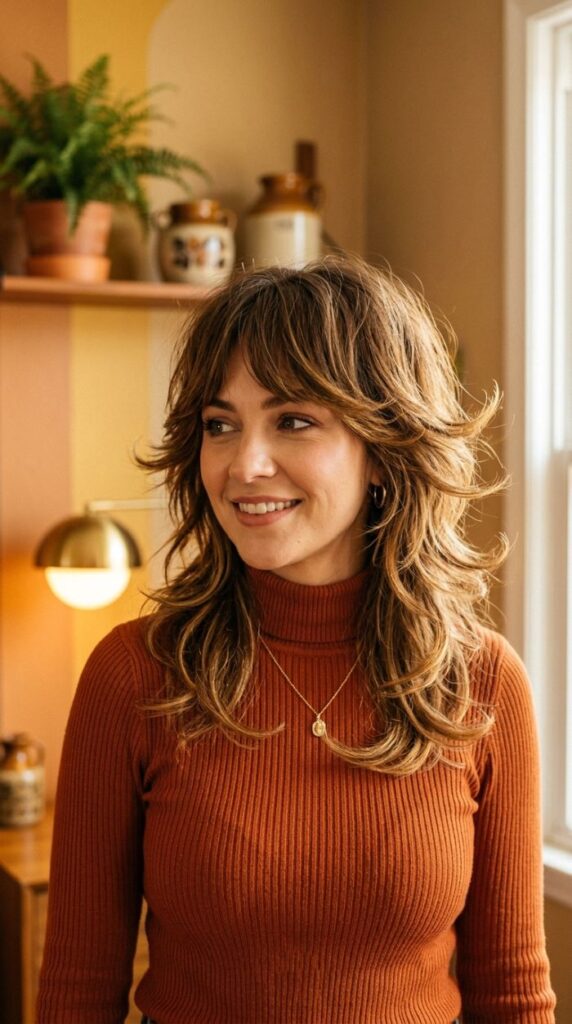
Soft Butterfly Cut
The butterfly cut is having a major moment and it suits medium hair perfectly. It gets its name from the shape the layers create — fuller at the crown and lighter through the ends, like wings framing your face. This cut works on straight, wavy, and slightly curly hair. You do not need to restyle it every day. The layers fall naturally with minimal effort. Ask your stylist for face-framing layers that start at the cheekbone. If you want to try it yourself, a basic thinning shear and some YouTube tutorials can get you close. Once it is cut, a dime-sized amount of curl cream scrunched into damp hair brings out the texture beautifully. Let it air dry or use a diffuser. No heat needed. Budget tip: buy a drugstore texturizing spray like Not Your Mother’s Curl Talk — around $8 to define the layers without crunch. The butterfly cut grows out gracefully too, so you are not stuck with high-maintenance trims every six weeks.
Old Money Blowout
The old money blowout is all about quiet polish. Think smooth, shiny, full-bodied hair with a slight bend at the ends nothing overdone, nothing frizzy. It looks expensive but costs almost nothing to recreate at home. The secret is the technique, not the products. Start with a lightweight heat protectant spray. Section your damp hair and use a round brush to roll each section under while blasting it with a blow dryer. Work from the roots down. Finish with the cool shot button on your dryer to lock in the shape. A drugstore round brush from Conair ($10–$12) and a basic blow dryer do the job fine. For extra shine, run a tiny bit of hair oil argan or coconut work great over the surface of your finished style. Keep it light. This style works especially well for days when you need to look put-together fast. It photographs beautifully and holds up for a full workday without much touching up.
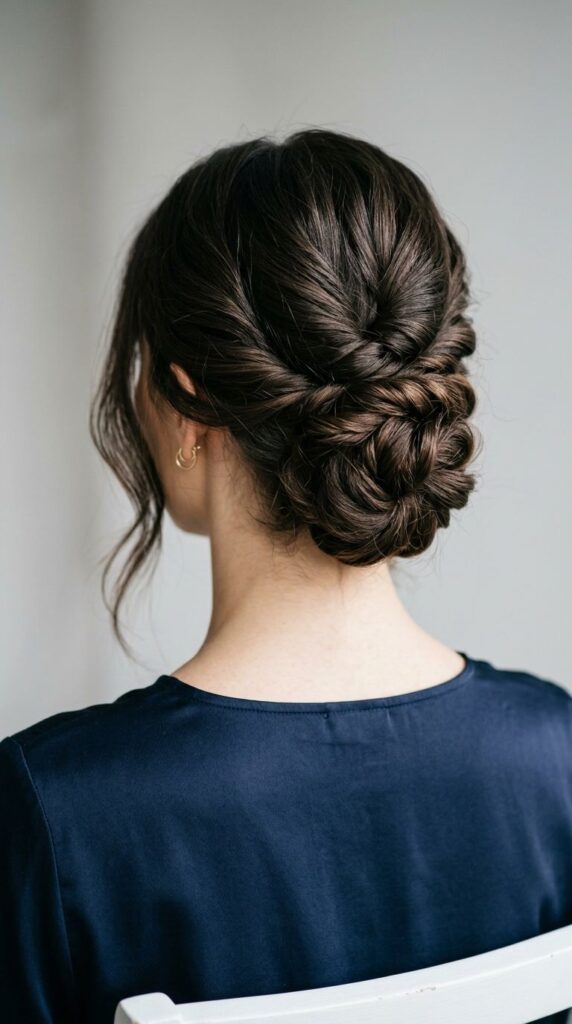
Claw Clip Updo
The claw clip updo went from grandma’s bathroom to every aesthetic feed on the internet — and it stuck around because it actually works. For medium hair, the key is using a large rectangular claw clip (not the tiny ones) so it can hold the full twist. Gather your hair like you are making a low ponytail, twist it once or twice, and press the clip in to catch the fold. Pull a few pieces out at the front and nape for that effortless look. That is the whole technique. This style works on day-two or day-three hair better than freshly washed hair. A bit of texture spray helps if your hair is very smooth. Clips from Amazon or Five Below run $2–$6 and come in tortoiseshell, black, and neutral tones that go with everything. Try different clip widths to see what holds your hair best. This look is genuinely five seconds long, completely heat-free, and looks intentional every time.
Curtain Bangs

Curtain bangs are the most-requested bang style right now, and for good reason. They are forgiving, flattering on nearly every face shape, and they grow out gracefully. Unlike blunt bangs, curtain bangs part in the middle and sweep to the sides — so there is no awkward in-between stage. For medium hair, they add an instant softness to the face. To style them at home, dry them with a round brush by rolling each side outward. A small round brush ($8–$10) and a blow dryer are all you need. On no-heat days, pin them to the sides while damp and let them air dry. Use a tiny bit of pomade or hair wax on your fingertip to smooth flyaways. Budget tip: ask your stylist to cut them longer than you think you want — they shrink slightly as they dry. You can always trim, but you cannot add length back. Once you have them, most people refuse to go back.
Loose Romantic Braid
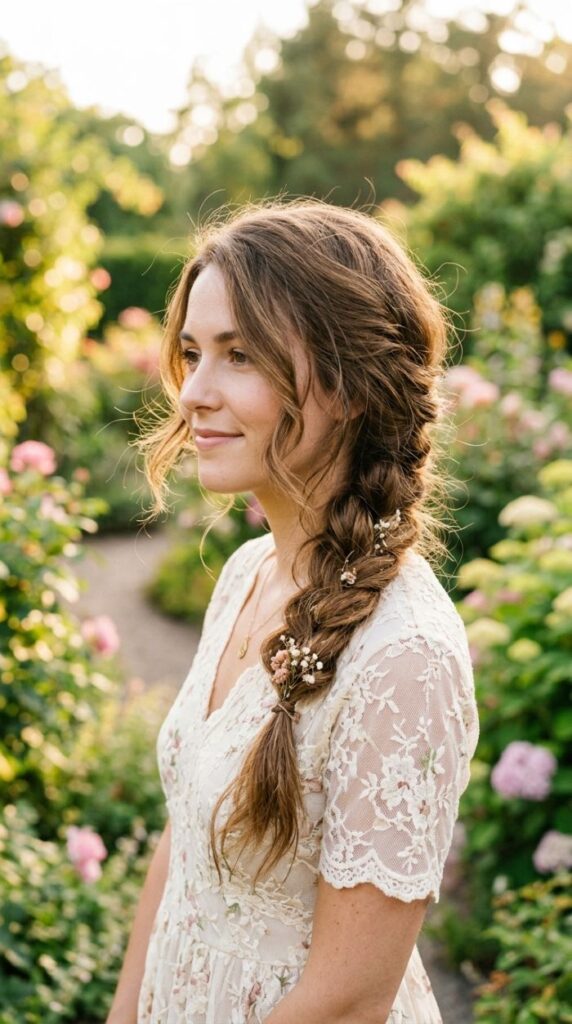
A loose romantic braid feels like something from a countryside editorial but takes about four minutes to do. The trick is not trying to make it perfect. Messy is the whole point. Start with a basic three-strand braid — either side or center. Once you have braided to the end, go back and gently tug the sides of each section to loosen it. Pull a few pieces out near the temples and the nape. Secure with a clear elastic ($1 for a pack). That is genuinely it. This style works best on hair that is not freshly washed — day-two hair has more grip and texture. If your hair is very silky, run a bit of texturizing spray through it before braiding so it holds. No heat required. No product required beyond a $1 elastic. The romantic braid is perfect for hot days, outdoor events, or any time you want to look like you put thought into your hair without actually putting thought into your hair.
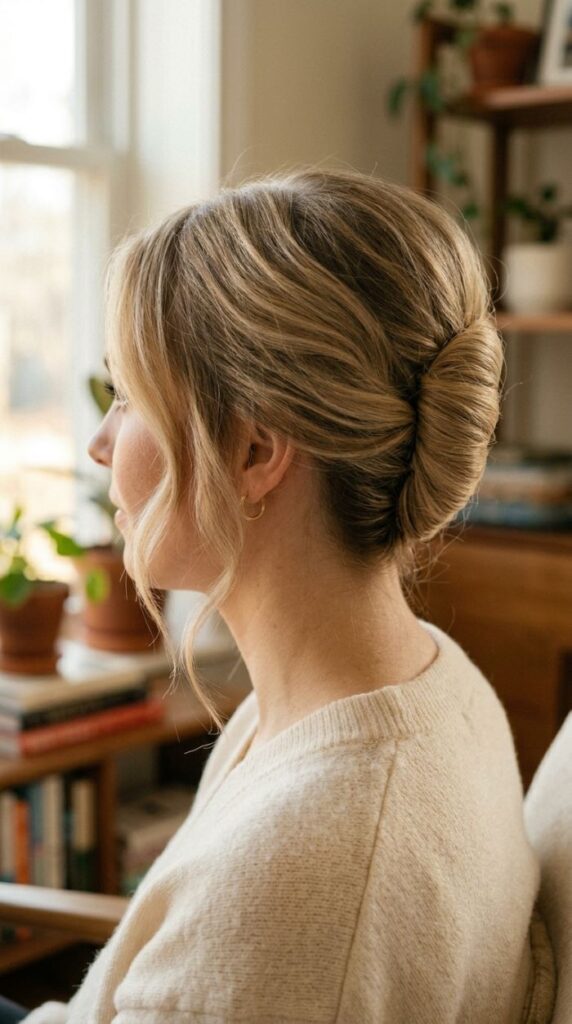
Low Ponytail with Wrapped Base
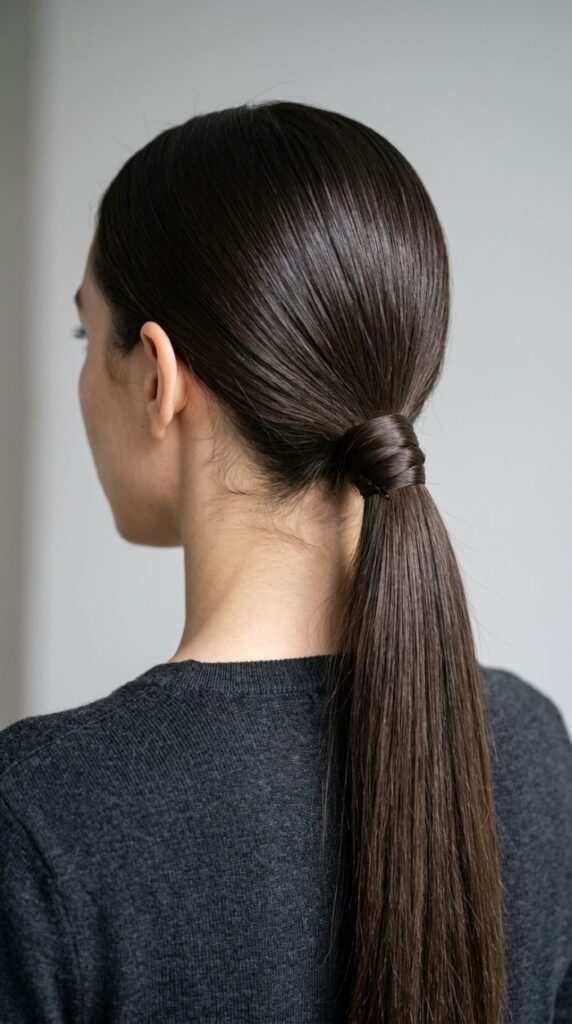
The low ponytail with a wrapped base is one of those styles that turns a basic look into something considered and polished. It is a 30-second upgrade. Pull your hair into a low ponytail. Secure it with an elastic. Then take a thin section from underneath, wrap it around the elastic, and pin it underneath with a bobby pin. Done. The exposed elastic disappears and the whole thing looks finished. This works on straight, wavy, and even slightly curly hair. For a sleeker version, brush the hair smooth before tying. For a softer version, leave some texture in. Add a few face-framing pieces at the front for a more relaxed feel. Budget tip: a pack of clear or matching elastics runs about $2 at any drugstore, and a pack of bobby pins is $1–$3. This style is ideal for work, workouts, or any low-key occasion where you want your hair off your face but still looking done.
Textured Half-Up Knot

The half-up knot is one of the most practical hairstyles for medium hair. It keeps hair off your face without the commitment of a full updo. It works in under two minutes and looks better with texture than with perfectly smooth hair. Section off the top half of your hair — roughly from ear to ear. Twist it into a loose bun or knot at the crown. Secure with an elastic or a small claw clip. Pull a few strands loose at the front and sides. Done. This style is especially good for wavy or air-dried hair because the natural texture makes the knot look more intentional. If your hair is straight and slippery, a quick spritz of texturizing spray before pulling it up adds grip. Budget tip: Pantene Curl Spray or any drugstore texturizing mist ($5–$8) makes hair much easier to work with. Try a slightly higher or lower knot position to change the whole vibe of the look.
90s Inspired Crimped Texture

Crimped hair is back — but it is softer this time. Forget the severe, uniform crimp from the 90s. Today’s version is loose, irregular, and more like enhanced natural texture. You can get this look with a small flat iron by pressing hair at irregular angles rather than straight sections. Work in small sections for more definition. Hold each crimp for about three seconds. Alternatively, braid damp hair in multiple sections and let it dry completely, then unravel — this gives a natural crimped effect with zero heat. Finish with a light-hold hair spray to keep the texture from deflating through the day. The no-heat version costs nothing if you already have elastics at home. The flat iron version is something most people already own. This style suits medium hair especially well because the texture adds volume and visual interest without making it look overdone. It is one of those looks that turns heads because people cannot quite figure out what you did.
Middle Part with Loose Waves
The middle part with loose waves is one of those endlessly wearable styles. It works for brunch, work, a date, or a Tuesday. The middle part elongates the face and the waves add softness without looking overdone. To get the waves, wrap medium sections of hair around a 1-inch curling wand away from your face. Let each curl drop and cool before touching it. Once all sections are done, run your fingers through lightly to loosen everything. Finish with a flexible-hold spray. Budget tip: the Conair Curl Secret or any basic curling wand from Walmart ($15–$20) creates this look easily. You do not need expensive tools. If you want a no-heat version, apply mousse to damp hair, twist sections, and let it air dry. The result is a slightly softer wave that is just as pretty. Once you get the technique down, this style takes about 15 minutes from start to finish.
Sleek Straight with Center Part
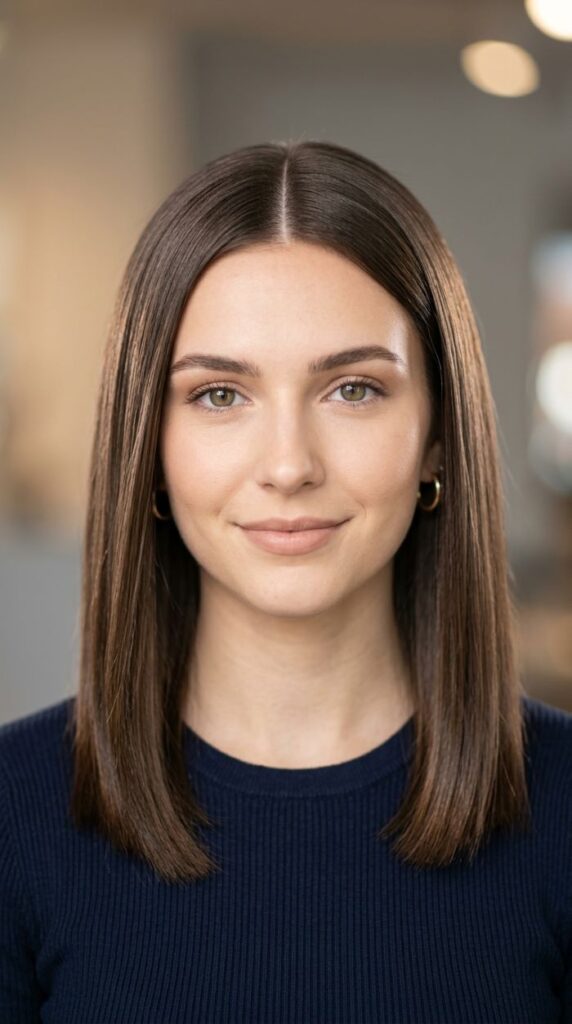
Sometimes clean and simple is the statement. Sleek straight hair with a center part photographs incredibly well and works on every hair type. The key to making this look polished rather than flat is shine. Start with a heat protectant, blow dry smooth with a paddle brush, then flat iron in downward strokes. Use a thin strip of hair from underneath to wrap around the barrel of the iron and pull downward — this is the technique for that glass-hair finish. Finish with a few drops of hair gloss or serum. A bottle of Garnier Fructis Sleek and Shine serum costs about $5 at the drugstore and adds major shine without greasiness. A budget flat iron from Revlon or Conair ($20–$30) works perfectly well for this style. This is a go-to for job interviews, formal events, or any time you want to look effortlessly sharp. It also works as a base for other styles — add clips or accessories once the base is smooth and everything looks more intentional.
Loose French Tuck Updo
The loose French tuck is the messy bun’s more put-together cousin. It gives the same effortless energy but looks a little more finished. This is a great style for medium hair because the length is perfect for the tuck. Gather your hair at the nape and loosely fold it upward, pinning it in place with bobby pins. Do not worry about making it perfect — uneven sections add to the look. Pull a few pieces out at the temples and leave a tendril or two at the nape. Secure any loose sections with extra pins. This style does not need any product, heat, or accessories — though a claw clip over the tuck makes it even easier. Try it on second-day hair when your hair already has a little natural grip and texture built in. The whole process takes about 90 seconds once you have done it a couple of times. It is one of those styles that looks like you planned it, even when you absolutely did not.
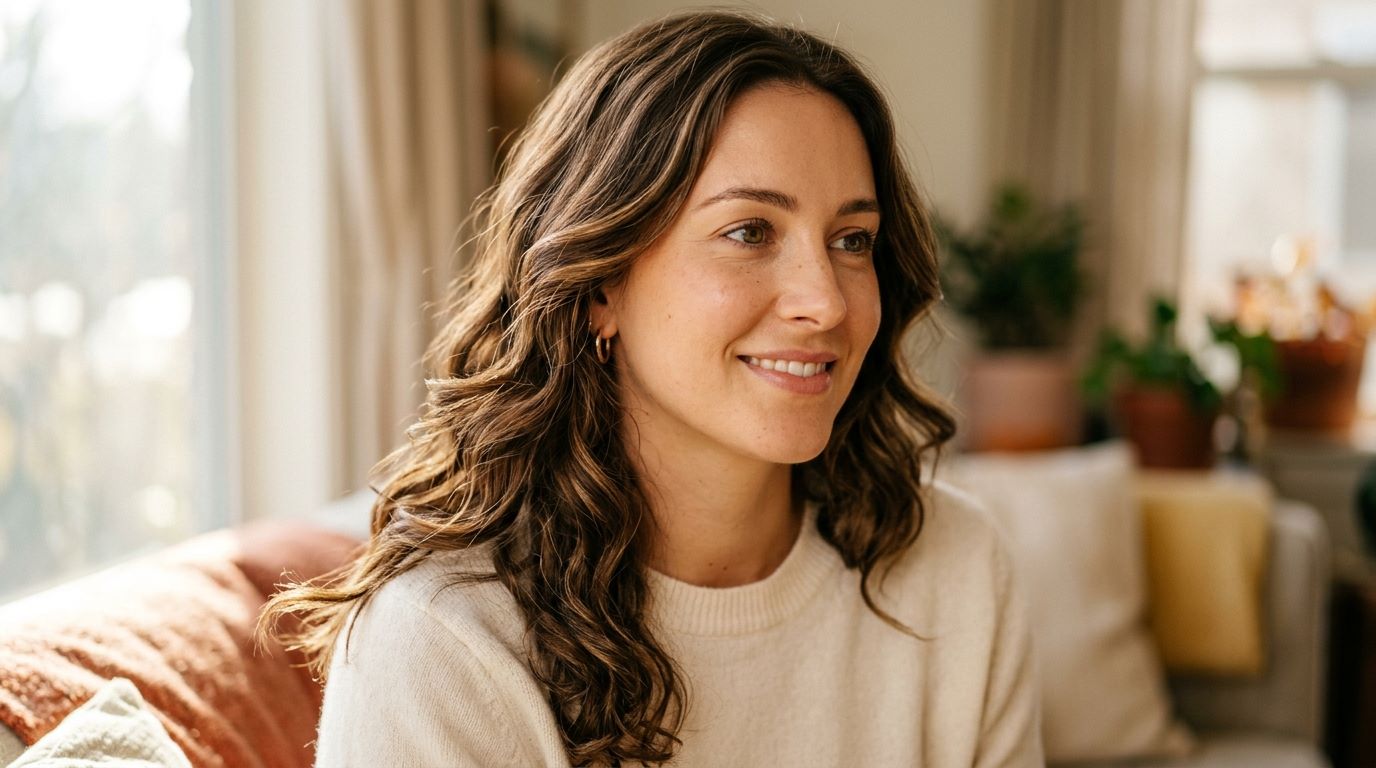
Beachy Waves with Salt Spray
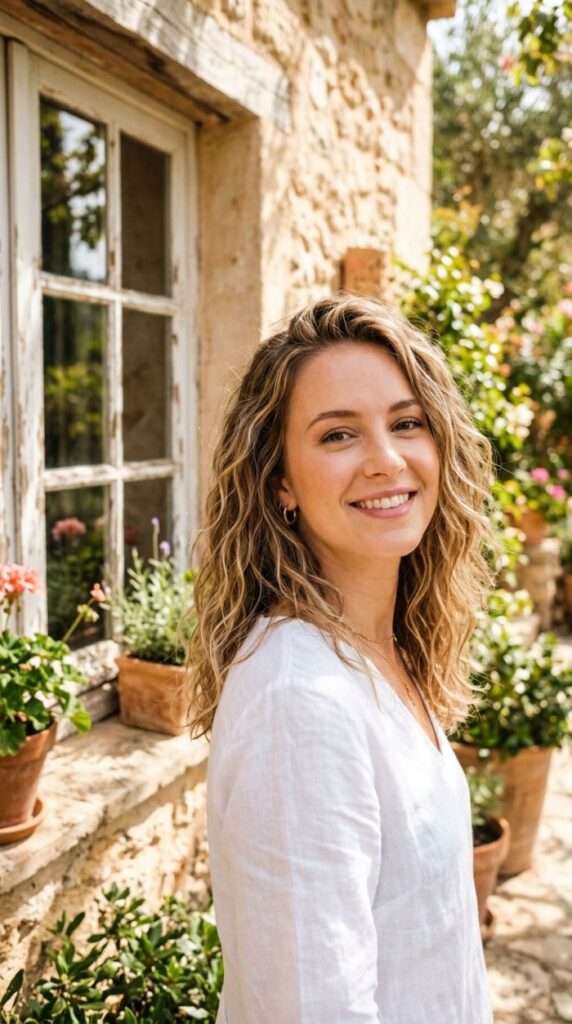
Beachy waves are the year-round standard for a reason — they are effortless-looking, work on any hair color, and suit medium hair lengths especially well. Salt spray is the cheat code for this entire style. Spray it on damp hair, scrunch, and let it air dry. That is the entire method. For more definition, braid damp salt-sprayed hair in two loose braids, sleep on it, then shake out in the morning. Drugstore salt sprays like SheaMoisture or Not Your Mother’s run $7–$10 and last for months. You can also make your own: mix a teaspoon of sea salt into a spray bottle with water and a few drops of hair oil. Shake before each use. This is one of the most budget-friendly styles on this list because the product cost is almost zero. The key is not over-applying — a light mist is enough. Too much makes hair feel crunchy. This look is genuinely better slightly underdone than overdone.
Sculptural Bun with a Twist
A sculptural twisted bun takes the classic bun and makes it look like you spent three times longer on it than you actually did. The twist is what gives it that editorial quality. Separate your hair into two sections. Twist each section tightly in the same direction. Then wrap both twisted sections together around a center point and pin them in place. The twisted texture stays visible even after pinning, which gives the bun a finished, intentional look. Bobby pins ($2–$3) are all you need. Use a strong-hold hair spray to keep flyaways down without making it feel rigid. This style works particularly well on medium hair because there is just enough length for the twist to show without the bun becoming too heavy or unruly. Try it lower at the nape for a more formal feeling or higher at the crown for something more playful. Both versions photograph beautifully and hold up through long days.
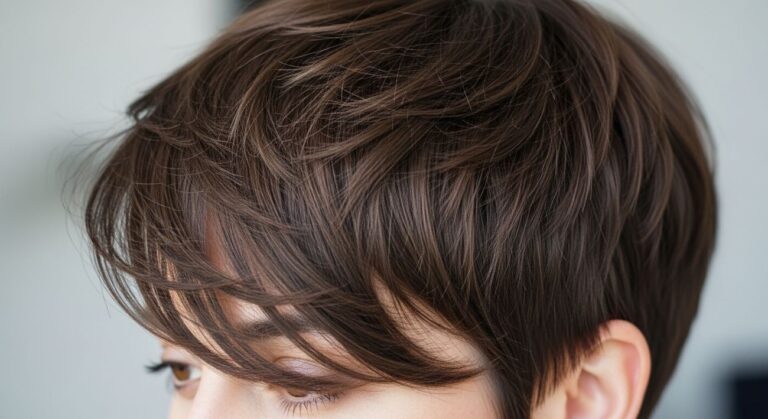
Wispy Face-Framing Layers
Face-framing layers are not a style so much as a cut — but they change every style you do from that point forward. Wispy face-framing pieces soften sharp features and add movement to medium-length hair. Ask your stylist for fine, tapered pieces that start at the cheekbone and blend into the rest of the hair. These are different from chunky layers — they are more subtle and delicate. At home, you can add them yourself with thinning shears ($10–$15 at Sally Beauty). Snip into the front sections at an angle while dry to create that feathered, wispy effect. Go slowly and take off less than you think you need. Once they are cut, style them by curling them slightly away from the face or just letting them fall naturally. A light texturizing spray helps them sit right. This is probably the single highest-value change you can make to medium hair — it costs almost nothing, takes seconds to add, and makes every other style look more refined.
Sleek High Ponytail
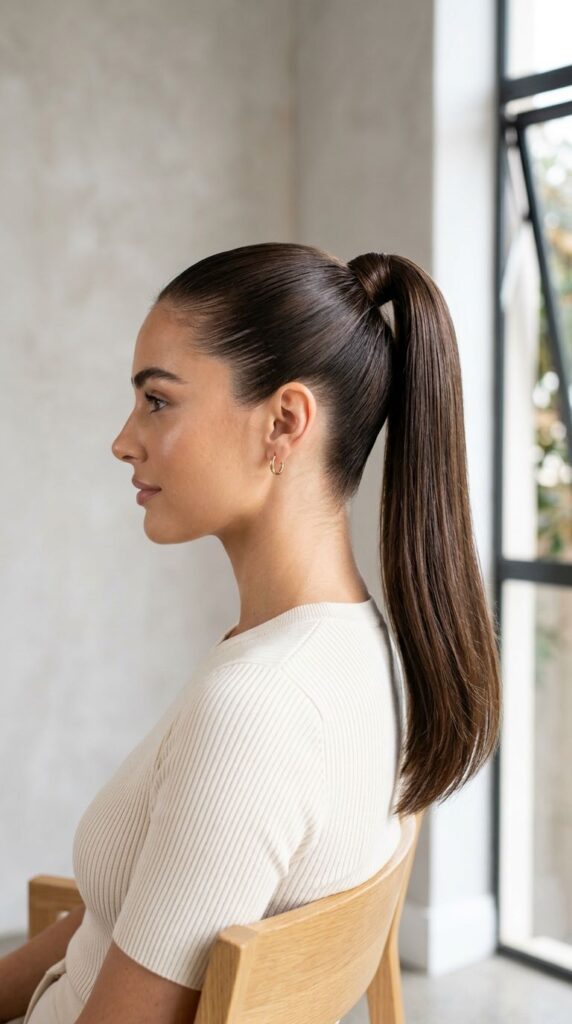
The high ponytail never actually goes out of style — it just keeps getting refined. For medium hair, the secret to making a high ponytail look polished is smoothing the hair from root to base before tying. Use a soft bristle brush and a bit of edge control or gel to smooth the sides and back. Pull it up tight at the crown and secure with a strong elastic. Wrap a thin section of hair around the base to hide the elastic. Lightly backcomb the ponytail itself for volume, or leave it sleek for a more minimal look. A small tube of hair gel ($3–$5) and a medium-hold hairspray are all you need product-wise. This style is ideal for workouts because it keeps hair completely off the face. It is also surprisingly effective for professional settings when done cleanly. Medium hair usually creates a ponytail that falls just past the shoulders — which is the ideal length for this look to sit and move naturally.
Braided Crown Headband
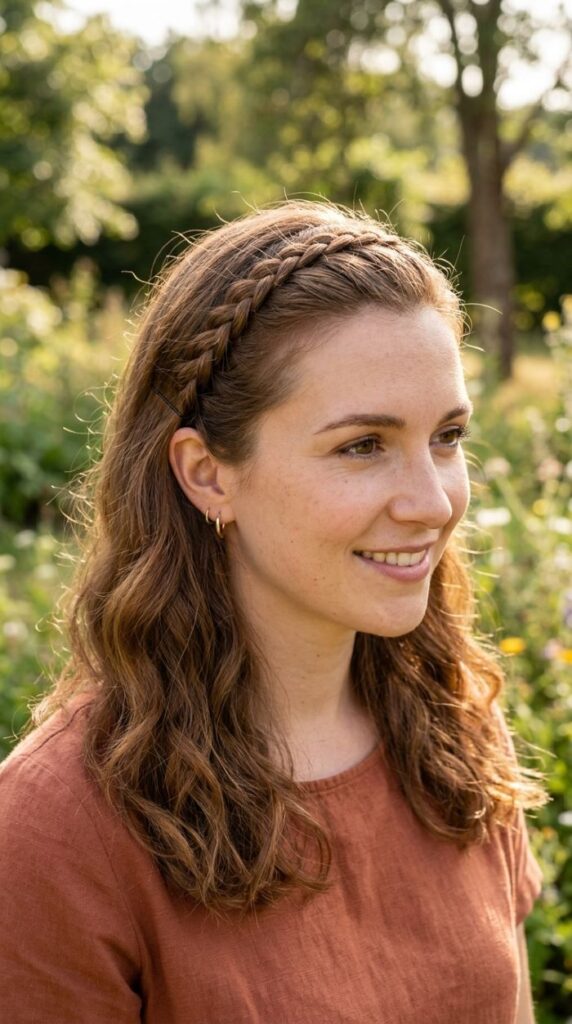
The braided crown headband is a small detail that completely changes the energy of your hair. Take a thin section from one side near your temple. Braid it in a simple three-strand braid. Bring it across the top of your head. Pin it behind the opposite ear with bobby pins. That single thin braid acts like a headband but better — it does not slip, it does not give you a headache, and it looks far more considered than an actual headband. This works with straight or wavy hair hanging freely underneath. You can do it on clean or slightly dirty hair. No heat. No product needed. The only cost is the bobby pins you already own. For a fancier version, add a second matching braid from the other side and pin them both in the middle. This style is especially popular for outdoor events, weddings, and graduations — any occasion where you want to look polished without wearing a formal updo.
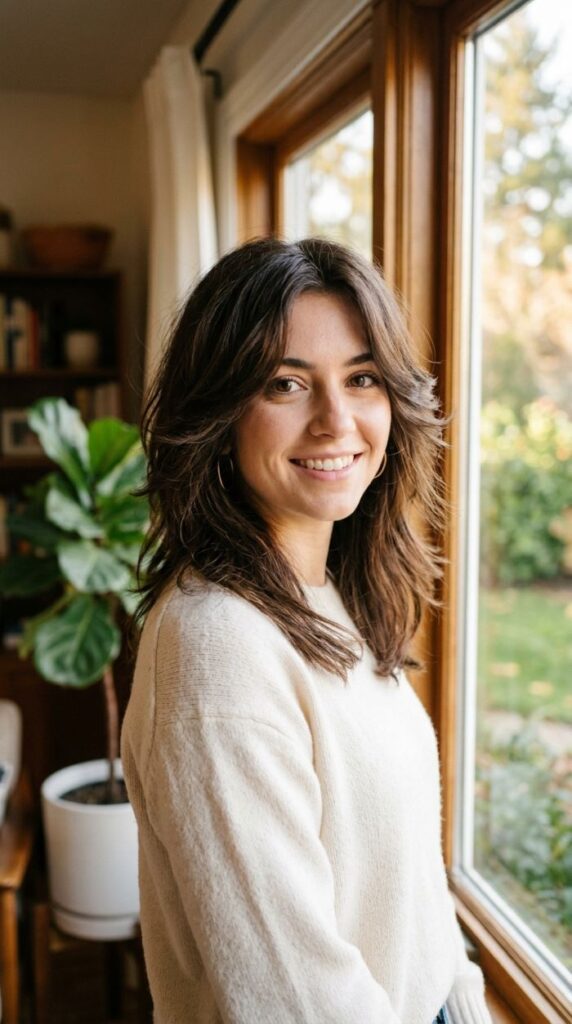
70s Shag with Flicked Ends
The 70s shag is back in full force and medium hair is the ideal length for it. The shag combines heavy layers with a slightly shaggy, undone texture that looks cool without trying. Ask your stylist for a shag cut with face-framing layers and some weight removed from the ends. To get the classic flicked ends, use a small round brush or a medium-barreled curling iron and flip the ends outward slightly as you style. A can of flexible-hold spray ($6–$8) locks the flick in place without making it stiff. If you want to try styling at home with what you have, a flat iron also works for creating the flick just turn your wrist outward as you pull through the ends. The shag grows out beautifully and does not require frequent trims to maintain its shape. It is one of the more low-maintenance cuts on this list once the initial shape is in place.
Pin-Straight Bob-Length Blowout

This is the style that makes medium hair look the most intentional and groomed. A pin-straight blowout at bob length hits right at the collarbone, which is one of the most flattering lengths for almost every face shape. Blow dry with a paddle brush in downward strokes, pulling tension as you go. Finish with a flat iron on sections that need more smoothing. The goal is glass completely smooth from root to tip. A drop of hair serum on the palms, pressed lightly over the surface, gives a mirror-like shine. This style suits people who prefer a minimal, clean aesthetic. It is also one of the easiest styles to maintain through the day since there are no curls or texture to fall. Budget products that work well here: Tresemmé Platinum Strength Heat Protection Spray ($5) and Garnier Fructis Sleek and Shine Serum ($5). Total product investment: under $10. End result: looks like you paid for a salon blowout.
Effortless Air-Dried Natural Texture
The best style might be the one that requires nothing at all. Air-dried natural texture is having a cultural moment because people are tired of spending time and money fighting their hair into submission. The key to making air-dried hair look styled rather than just forgotten is applying the right products while it is still wet. Work a small amount of curl cream or leave-in conditioner through damp hair from mid-length to ends. Scrunch gently. Let it dry completely without touching it. Once dry, break the cast with your hands if there is any crunchiness. That is it. Cantu Leave-In Conditioning Cream is $6–$7 at most drugstores and works beautifully on all hair types. This method respects your hair’s natural pattern whether that is loose waves, defined curls, or gentle frizz and stops fighting against it. The result is hair that looks healthy and real. No heat damage. No product buildup. No 45-minute morning routine. Medium hair air-dries faster than long hair, which makes this genuinely practical for daily use.
Conclusion
Medium hair is one of the most workable lengths out there. It is long enough to braid, twist, wave, and pin. It is short enough to air-dry in an hour and stay manageable on busy days. The 19 styles in this article cover every mood from five-second claw clips to polished sleek blowouts and most of them cost nothing more than products you already own or can pick up for under $10. The best approach is to try two or three styles on a low-stakes day at home. Get a feel for what your hair naturally wants to do, and work with that instead of against it. You will find a handful of looks that become your personal rotation. Once you do, getting ready in the morning stops being a chore and starts being something you actually enjoy.